Getting Started with the Nitrokey HSM 2

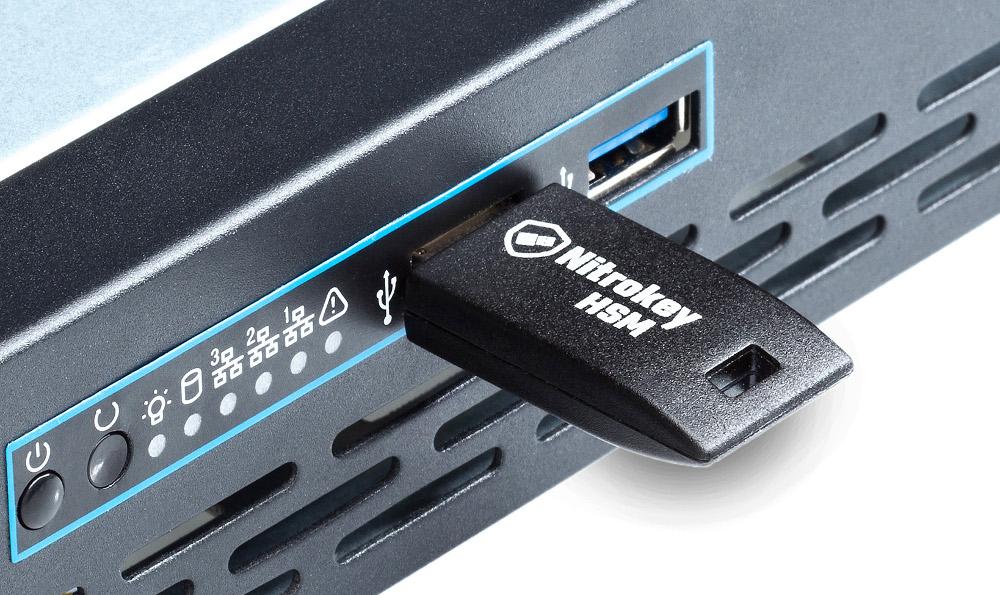
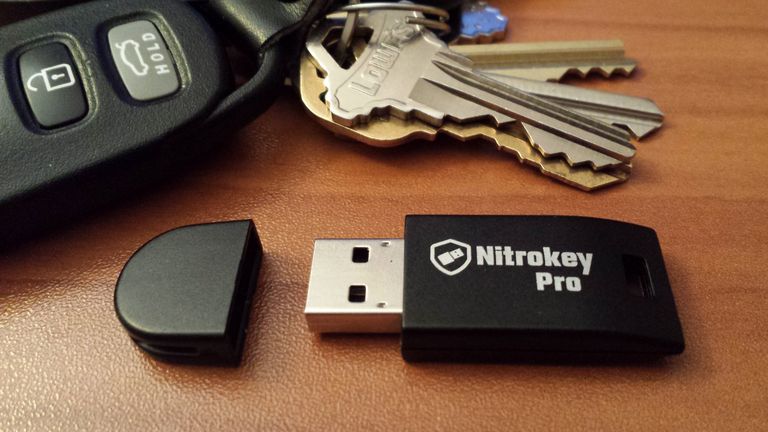
The folks at Nitrokey kindly sent me a Nitrokey HSM 2 as part of the Nitrokey Community Program. The tiny, thumb-drive sized device is actually a Hardware Security Module, a device that holds cryptographic keys and performs encryption and decryption. If you've not come across HSMs before and you'd like to know a bit more please read my What is a Hardware Security Module? post.
How to setup the HSM 2
The device arrives with no software or instructions, instead a sticker on the bag holding the HSM2 directs you to https://www.nitrokey.com/start where instructions can be found for Linux, Windows and MacOS. Developer Remy also wrote a great article written by with additional information that was really helpful: Get started with the Nitrokey HSM or SmartCard-HSM.
The Nitrokey is a Smartcard-HSM chip embedded within a USB smart card reader, as such many of the instructions and software packages would work with both devices. Luckily for us, because the Nitrokey HSM 2 is based on mature technology that also means that there's plenty of mature software for us to use, although documentation tends to assume a prior understanding of the technology before getting started.
The recommended software for interacting with smart cards is OpenSC, a package that includes tools and drivers for Smart Cards and any HSMs that use them. There are other Open Source tools available which I will also try out in time but initially I'd like to stick to the basics, I intend to use Windows, Linux and MacOS for different use-cases but for the initial setup and testing I'm going to start with Windows.
Thinking About Backups
Before initialising the device, one thing you'll need to think about is whether you might ever want to be able to export the key. Now, if you've read my What is an HSM? article you might be wondering why you'd ever want to be able to do this given that the main benefit of an HSM is that the key never leaves the device.
There are two main scenarios where this could become important:
- Multiple HSMs - If you're running any kind of service at scale encrypting and decrypting data constantly you will likely need to have multiple devices to hold the same keys, otherwise data encrypted in one data centre couldn't be decrypted in another.
- Hardware Failure - if you rely on a single device and it happens to have a component failure or gets dropped/crushed then your encrypted data would be irrecoverable - clearly not what you want for a production use-case.
Setting a Device Key Encryption Key
But, how do you achieve this securely? HSMs allow you to set what is called the Device Key Encryption Key, or DKEK. The DKEK is generated from a user provided password and can be used as a 'wrapper' through which the key itself is encrypted for transfer and can only be restored to another HSM by re-supplying the password.
The creation of a DKEK must be completed before initialising the device otherwise it will not be possible to export/backup the key material. Conversely, if you want to guarantee that the key will never leave the device you simple skip the step of creating the DKEK.
The DKEK creation process is quite straight-forward:
C:\Progra~1\OpenSC~1\OpenSC\tools\sc-hsm-tool --create-dkek-share dkek-share-1.pbeAvoiding a Single Point of Failure
Of course, it's a potential risk if you're reliant on just a single person to manage the DKEK but there's a way around that too. The HSM allows you to create a number of DKEKs such that whenever a key is exported, all of the DKEKs must be present in order to restore a complete key. The process can even be completed partially such that if DKEK holder #1 enters their key, they can mail the HSM to DKEK holder #2 to enter their password and so-on until the key is complete - only when the final DKEK is entered will the key be restored.
So far, so good. Splitting the key among several custodians may prevent one rogue operator from stealing and restoring the key, however there are still risks. A rogue operator could refuse to participate in a restoration, holding the key hostage for ransom as a Denial of Service. Thankfully, there's another method that helps there - quorum authentication via an M-of-N custodians scheme.
Setting up Quorum Authentication
The idea behind the M-of-N access control is that you may have N total key custodians each with their own share of the password but only M of them are required in order to complete the restore. As an example, we might create a DKEK that would require 3 out of the 5 total custodians to restore the key with the following command:
sc-hsm-tool --create-dkek-share dkek-m-of-n-share.pbe --pwd-shares-threshold 3 --pwd-shares-total 5
During setup, each user is individually prompted to make a note of the Prime (common for all shares), Share ID and the Share value (unique for each Share ID). This is a one-time display so it's critical here that both the share details and the resulting file are securely stored by each of the key custodians...
Share 1 of 5Prime : f3:4a:18:9d:e5:19:7c:fbShare ID : 1Share value : 8e:67:74:ba:38:05:d3:bcPlease note ALL values above and press <enter> when finishedAdding quorum authentication allows you to back up the key material but significantly reduces the risks of failure, whether it be through malice or happenstance. In my example, if one of our 5 key holders goes of the grid, we've still got a quorum and can restore a backup. Equally if a key custodial goes rogue, they'd have to convince two of their colleagues to join them whilst also risking detection.
Initialising the Nitrokey HSM 2
Now that we've created our DKEK(s), or have decided that we don't wish to do so, we're ready to initialise the HSM. That's achieved by setting the SO-PIN and PIN values as follows...
sc-hsm-tool --initialize --so-pin 3537363231383830 --pin 648219Quickly running the sc-hsm-tool with no parameters then shows the current status of the HSM...

We then need to import the DKEK specifying the number of key-shares being provided:
sc-hsm-tool --import-dkek-share dkek-m-of-n-share.pbe --pwd-shares-total 3
Then, after entering the Prime once followed by three Share ID and Share value combinations the HSM has been initialised. Again, a quick run of the sc-hsm-tool shows that this has been completed:

We now have an initialised Nitrokey HSM 2 and are ready to start generating keys which is achieved through another command-line tool:
C:\Progra~1\OpenSC~1\OpenSC\tools\pkcs11-tool --login --pin 123456--keypairgen --key-type rsa:2048 --id 10 --label "NKHSM2 RSA Key"Output:
Using slot 0 with a present token (0x0)Key pair generated:Private Key Object; RSA label: NKHSM2 RSA Key Ash ID: 10 Usage: decrypt, sign, unwrap Access: nonePublic Key Object; RSA 2048 bits label: NKHSM2 RSA Key ID: 10 Usage: encrypt, verify, wrap Access: noneSo there we have it, an RSA key created and stored on a tamper-resistant Hardware Security Module with m-of-n backup/restore capability.


